The pandemic has pushed us to adapt to online learning very quickly. ‘When trouble tec yuh pickney shirt fit yuh’ and we have been wearing some pretty small shirts recently. Adapting to online learning has not been easy for everyone and while there are platforms dedicated to online learning (eg. Moodle), these all come at a cost which makes it inaccessible to everyone. I experienced some trouble with Moodle recently that forced me to find a way to deliver educational material without a dedicated Moodle platform.
I also noticed challenges that lower-income schools and communities have been having with online learning. There was a commendable teacher who noticed students out of school were engaged in idle activities and so she set up blackboards and occasionally manually updated notes on the board. What if there was a way she could deliver her notes to students without having to go through that trouble? Well, there is.
The Shared Folder System
There are multiple online file storage platforms available for free, of course with a limit. There are the Google Drive, One Drive and Dropbox to name a few. To create a drive will take less than a minute. If you have a Gmail email address you automatically have a google drive account with 15 gigabytes free storage. I use all the popular drives but the one I use most is the One Drive platform as it syncs very well with my windows computer. I pay for that one too and it cost just 2 USD per month for 100 gigabytes. To set up a shared folder system create a folder for your course in the online drive of your choice. Create a link to that folder but ensure you turn off editing so whoever has access to that link can download but not edit anything in the folder. Your folder can have subfolders. You can create for example, a folder for your grade 10 class with subfolders for each subject. Within each subject folder, create a Microsoft Word document that contains a course schedule and a link for live classes. The folder should also contain the recorded teaching sessions that a student may download.
Recording a Lecture
Before a student can download a recorded session, there must first be a recorded session to download. So here’s how you do it. Open Microsoft PowerPoint and create your lecture, once you’re done click the record button and record your class. Save your class in MP4 or WMV format. You may share the recorded video directly into the shared folder so that the students can access it but, this will cost you a lot of memory space which you don’t have, if you are using the free drive. I recommend using YouTube to upload all your videos for free but ensure that you make them unlisted so that only persons with the link to the video can access it. You will then post the link to the video in the Microsoft Word document that you created in each folder. When a student clicks on that link it will take them to the YouTube video so they can view.
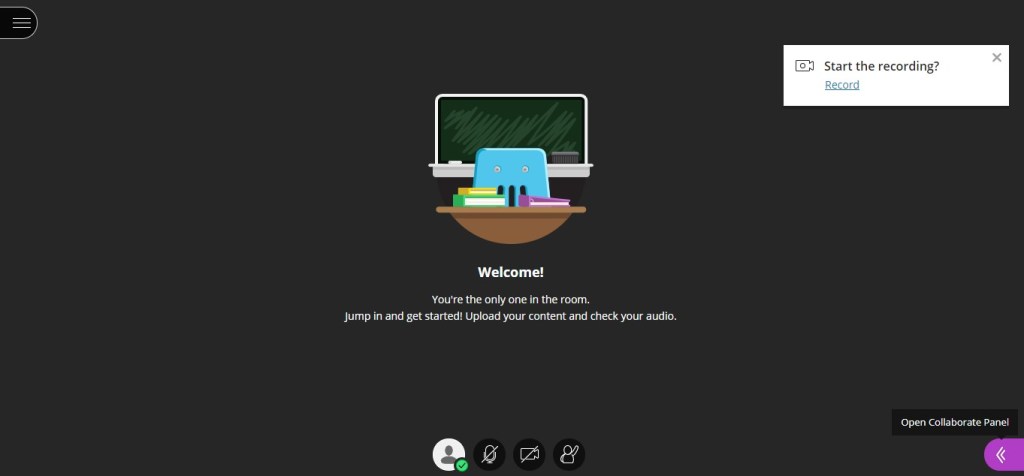
Live Classes
The recorded classes may not be sufficient given the variety in learning styles that exist. You will therefore need to complement the recorded lectures with live tutorial sessions. To do this you will have the students enter a link at the appropriate time defined in the schedule that you would have posted in the Microsoft Word document that had been embedded in the folder. The students will know when to click on a link for a live tutorial session. This live sessions can be done via zoom or any other free video conferencing tool. This would have been set up in the background by the teacher ahead of time. If this entire system is set up properly then all each student would need to receive is one single link and that would satisfy all their learning needs for the entire term.

Assessment Methods
Students will need to be assessed to determine whether they are learning. It is of course expected that assessments would be administered. These assessments may take the form of oral examinations, graded assignments or tests using platforms such as Google forms (there is a plugin that can insert time limits or this can be done manually by the instructor).
Advantages
The course information is always available to the student.
If a student does not understand or missed a point, they can always rewind the recording.
Educational material is well organized for each student.
COVID-19 Proof
Disadvantages
Assessments are difficult to administer effectively. Oral exams are time-consuming and there is the possibility of cheating in online exams.
It requires that each student has a device (tablet or laptop).
This strategy worked very well for me. Give it a shot!
